How to Make DIY Bath Bombs at Home
Have you ever dreamed of soaking in a fizzy, colorful bath? Bath bombs make it possible! These delightful little spheres turn your bath into a relaxing spa experience right at home. In this article, well guide you through making your own DIY bath bombs. Youll enjoy the process, and the results will pamper your skin and soothe your mind.
What Are Bath Bombs?
Bath bombs are solid balls filled with fragrant ingredients. When they hit the water, they fizz and dissolve, releasing essential oils, colors, and other goodies. They can make your bath feel luxurious and fun. Plus, they can also offer benefits for your skin.
Why Make Bath Bombs at Home?

Making bath bombs at home is not only fun, but it also allows you to customize them. Want a sweet lavender scent? Or maybe a zesty lemon? You can choose your favorite fragrances and colors. Plus, it’s a great way to save money compared to store-bought versions!
What Do You Need to Make Bath Bombs?
Before we get started, gather your supplies. Heres a simple list:
- 1 cup of baking soda
- 1/2 cup of citric acid
- 1/2 cup of Epsom salt
- 1/2 cup of cornstarch
- 2 1/2 tablespoons of oil (coconut, olive, or almond)
- 2 teaspoons of water
- Essential oils (optional)
- Food coloring (optional)
- Bath bomb molds (silicone molds work well)
These ingredients are safe and easy to find. You might even have some at home already!
How Do You Make Bath Bombs Step by Step?
Now that you have your ingredients, it’s time to mix and create your bath bombs! Follow these simple steps:
- Step 1: Mix the dry ingredients.
- Step 2: Mix the wet ingredients.
- Step 3: Combine the mixtures.
- Step 4: Pack the mixture into molds.
- Step 5: Let them dry.
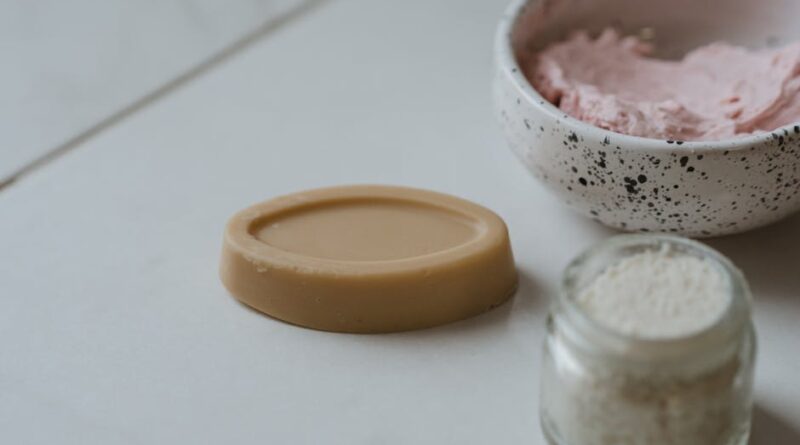
In a large bowl, combine baking soda, citric acid, Epsom salt, and cornstarch. Stir them well. You want a smooth, even mixture.
In another bowl, mix your oil, water, and essential oils. If you’re adding food coloring, do it here. A few drops will do!
Slowly pour the wet mixture into the dry ingredients. Stir constantly as you pour. The mixture should feel like damp sand. If it’s too dry, add a tiny bit of water.
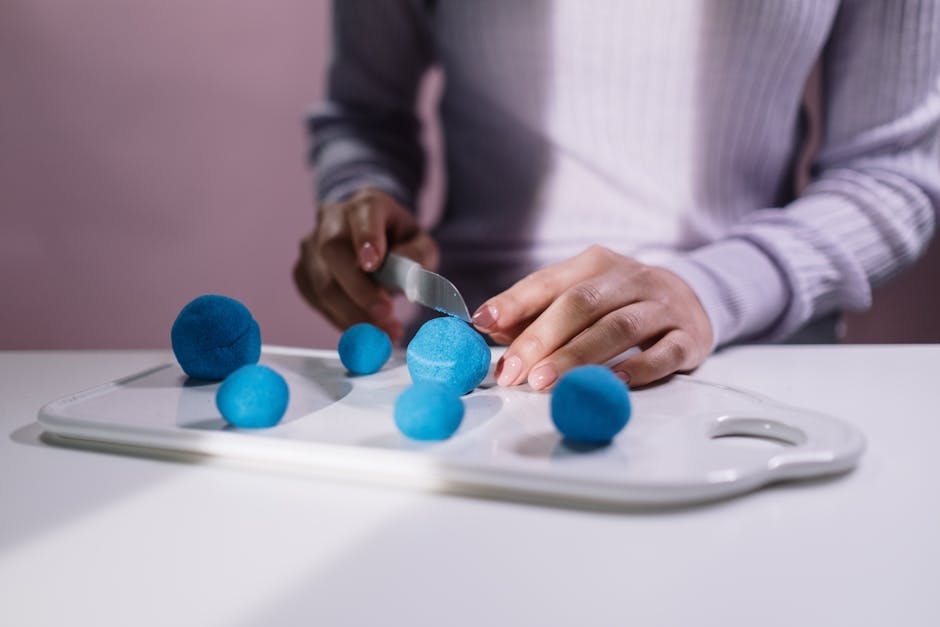
Take your molds and fill them tightly with the mixture. Pack it in firmly! If you’re using two-part molds, overfill one half and press the two halves together.
Leave your bath bombs to dry for at least 24 hours. Once they’re hard, gently pop them out of the molds.
And there you have it! Your very own DIY bath bombs ready to use!
How to Customize Your Bath Bombs?
Want to add a personal touch? Here are some ways to customize your bath bombs:
- Scents: Choose essential oils that you love. Lavender is calming, while peppermint can energize you.
- Colors: Use food coloring to create vibrant bath bombs. Mix different colors for a fun effect.
- Add-ins: Consider adding dried flowers, glitter, or even herbs for a unique touch.
Customizing your bath bombs means they reflect your personality. Make them as bright or subtle as you like!
Where Can You Store Your Bath Bombs?
After making your bath bombs, it’s important to store them properly. Keep them in a cool, dry place. A jar or a cardboard box works well. Avoid moisture, as it can make them fizz before you’re ready.
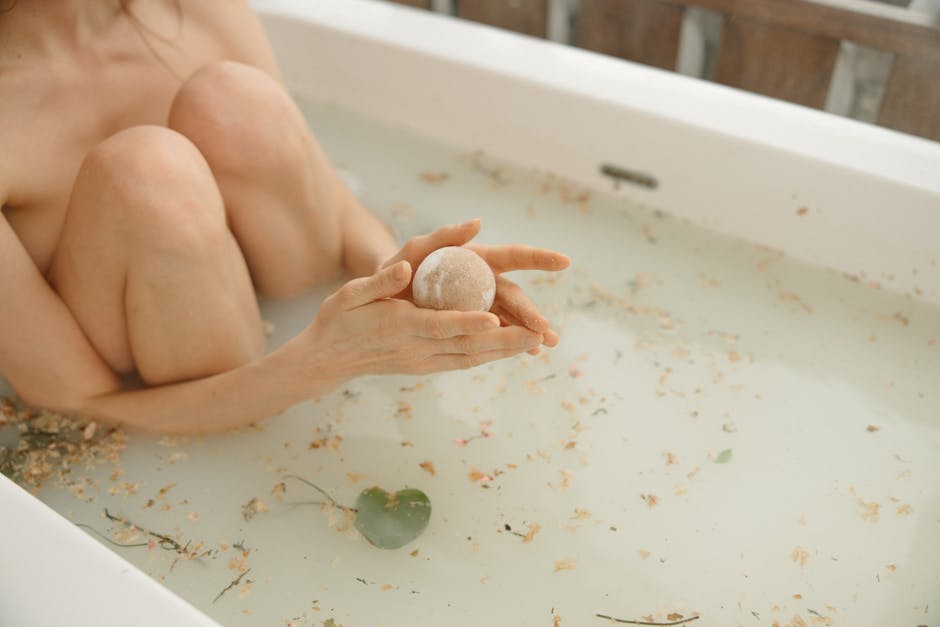
When you’re ready to use one, simply drop it into warm water. Sit back, relax, and enjoy the fizz!
Common Questions About Bath Bombs
Got questions? Here are some common ones:
Can You Use Bath Bombs in Any Bath?
Yes! Bath bombs work in any bathstandard, whirlpool, or even a foot bath. Just enjoy the fizz and the scent!
Are Bath Bombs Safe for Everyone?
Bath bombs are generally safe, but check the ingredients if you have sensitive skin. Always do a patch test first. If you’re unsure, consult with a dermatologist.
How Long Do Bath Bombs Last?
If stored properly, bath bombs can last up to six months. Over time, they may lose some fizz, but theyll still work!
What Are the Benefits of Bath Bombs?
Bath bombs aren’t just for fun. They also have benefits!
- Relaxation: The scents from essential oils can help you unwind after a long day.
- Skin Nourishment: Many ingredients hydrate and nourish your skin.
- Stress Relief: A warm bath can relieve tension in your muscles and promote relaxation.
With all these benefits, who wouldn’t want to make bath bombs at home?
Tips for Bath Bomb Making Success
Here are a few tips to help you get the best results:
- don’t rush: Take your time while mixing and packing.
- Experiment: don’t hesitate to try new scents and colors.
- Follow measurements: Accurate measurements lead to better results.
Making bath bombs should be fun, so enjoy the process!
Ready to Get Started?
Now you know how to make DIY bath bombs at home. Youve learned about the ingredients, how to customize them, and the benefits they provide. Why not try making a batch this weekend?
From soaking in a relaxing bath to gifting them to friends, bath bombs are a delightful treat. So gather your materials and get creative!
For more tips on self-care and relaxation, check out our post on self-care tips. Happy relaxing!